Integrate Trilio for Kubernetes with IDrive® e2
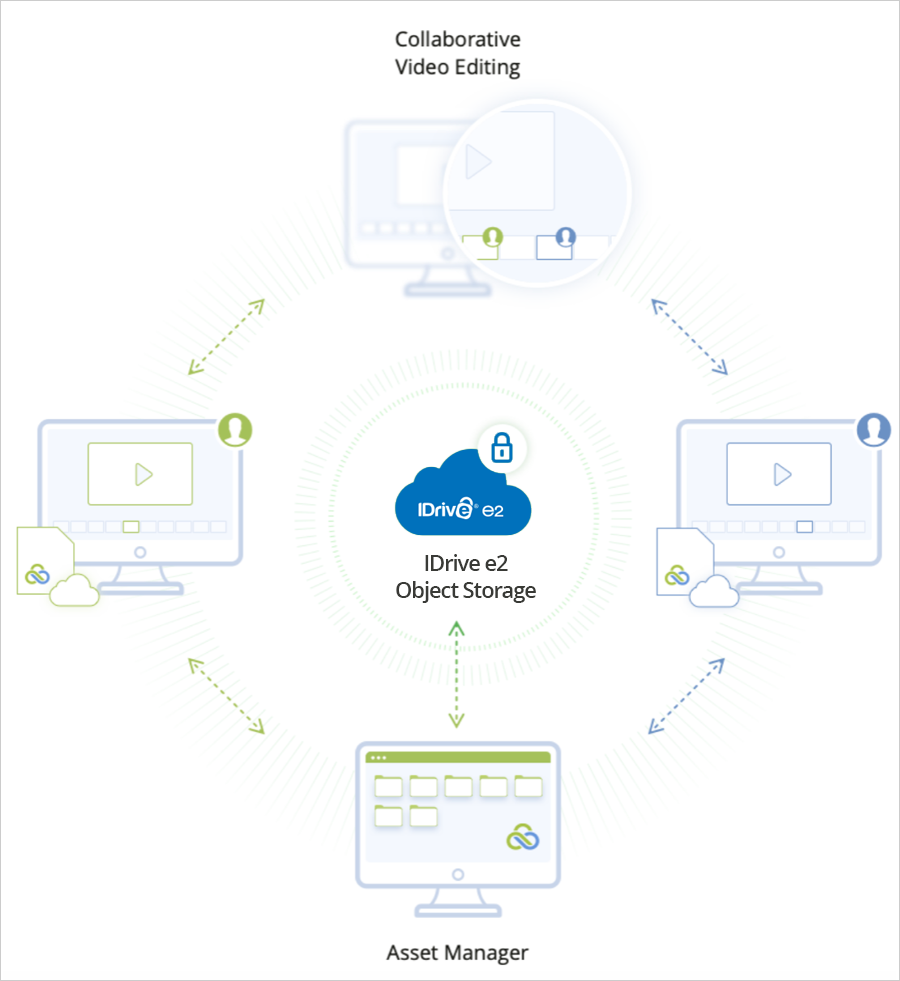
Trilio for Kubernetes (TVK) is an enterprise-grade backup and disaster recovery solution designed for Kubernetes environments. It protects entire applications by backing up Kubernetes resources along with persistent volume data. TVK enables application recovery, migration across clusters or clouds, and ransomware protection through policy-based, automated backups. When integrated with IDrive® e2 object storage, it provides secure, S3-compatible, cost-effective backup storage, ensuring reliable, scalable, and affordable data protection for Kubernetes workloads.
Prerequisites:
Before you begin, ensure the following:
- An active IDrive® e2 account. Sign up here if you do not have one.
- Valid Access Key ID and Secret Access Key. Learn how to create an access key.
- A license for backup, recovery, migrations, and disaster recovery, provided by Trilio.
Follow the steps below to integrate Trilio for Kubernetes with IDrive® e2 cloud:
Creating an IDrive® e2 Bucket
- Create a storage bucket in your IDrive® e2 account to store Trilio backup data.
- Sign in to your IDrive® e2 console, then follow the instructions to create a new bucket.
- Once created, record the bucket name and the region where it is hosted, as this information will be required during the Trilio configuration process.
Note: Do not enable Object Locking, as Trilio does not currently support managing object lifecycle policies when this feature is active.
Creating a Target
- In Trilio, click Targets.
- Click Create New.
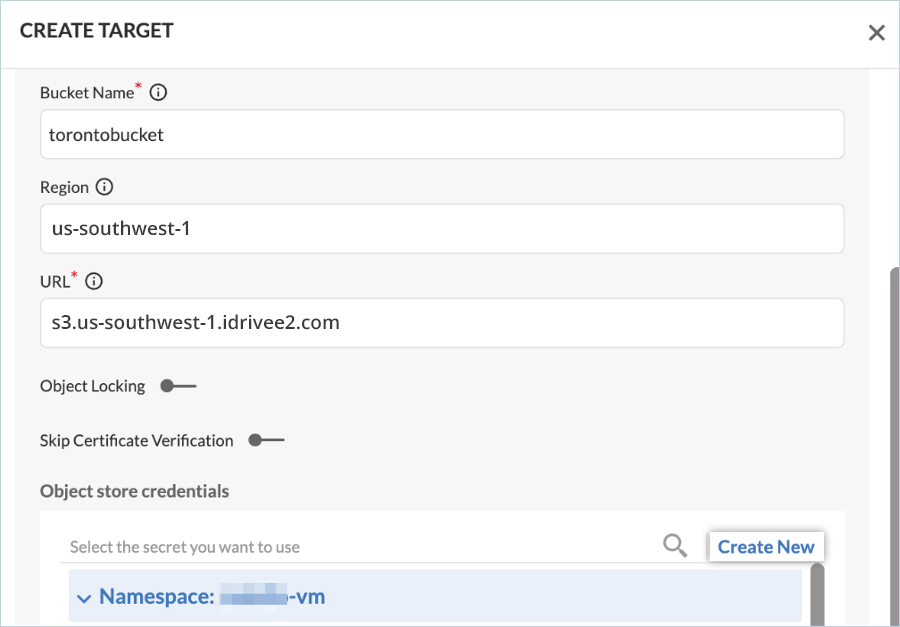
- Select Object Storage > IDrive® e2, choose the required size, and follow the steps below:
- Select Others under Vendor.
- Enter your IDrive® e2 Bucket name.
- Enter your IDrive® e2 Region.
- Enter your IDrive® e2 Endpoint URL.
Note: This example demonstrates configuration using an IDrive® e2 storage region. If you are using a different IDrive® e2 region, specify the corresponding Endpoint URL as outlined in the IDrive® e2 Endpoint URL documentation.

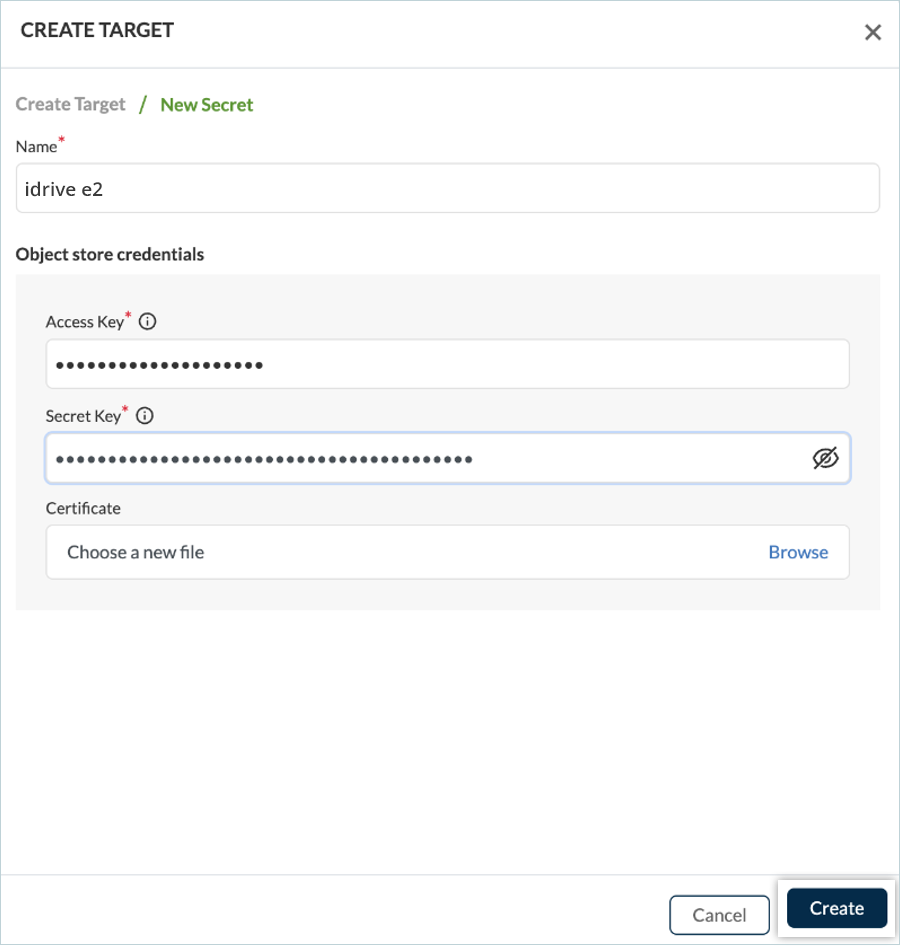
- Navigate to Object store credentials, and click Create New.
- Provide a name for the Target/New Secret, enter the corresponding Access Key and Secret Key created earlier, and click Create.
- The IDrive® e2 target status will update to Available.

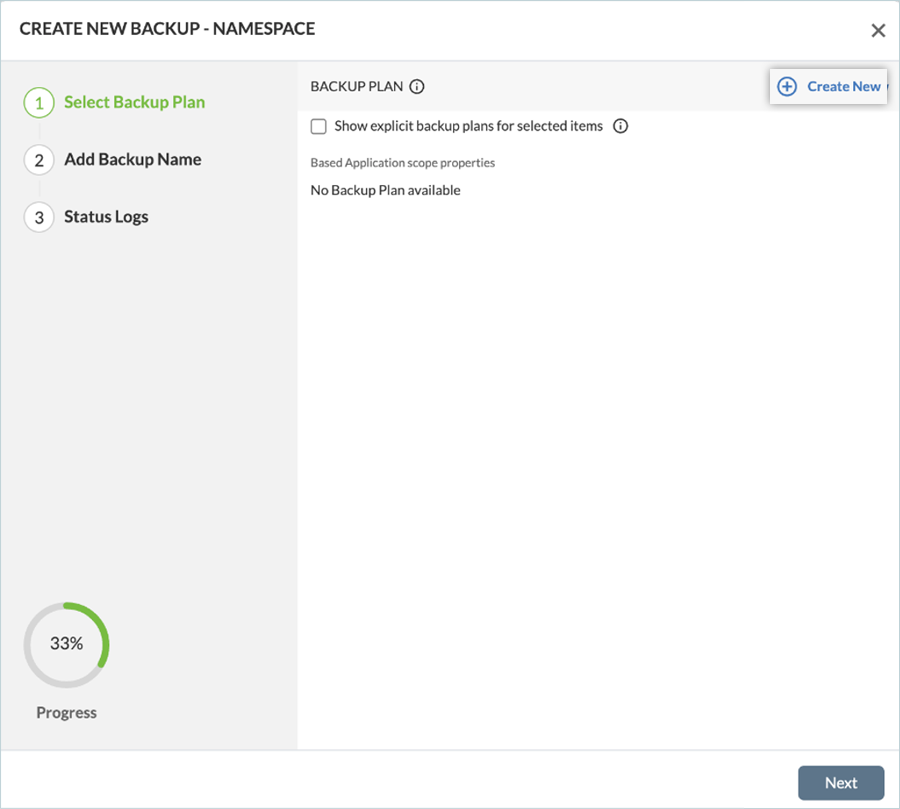
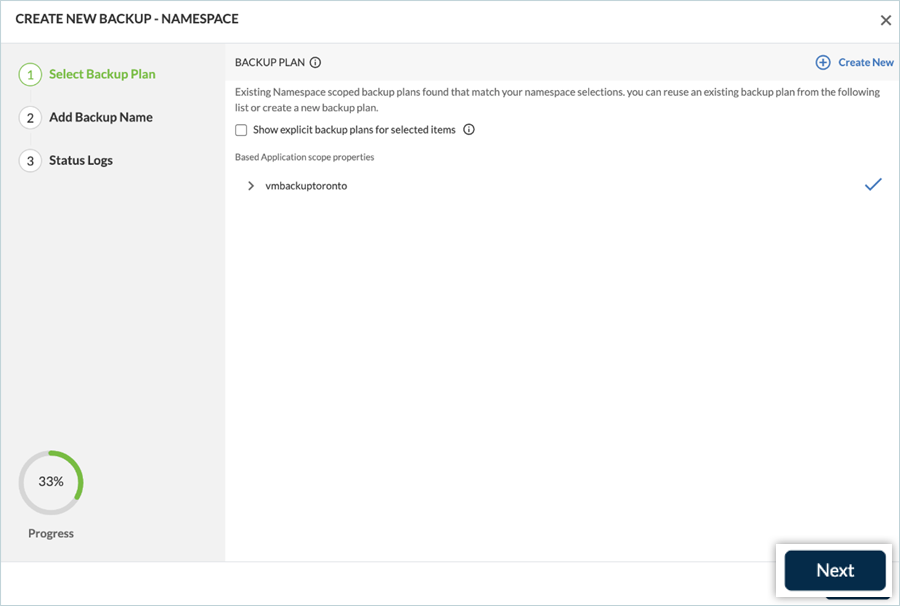
Creating a Backup Plan
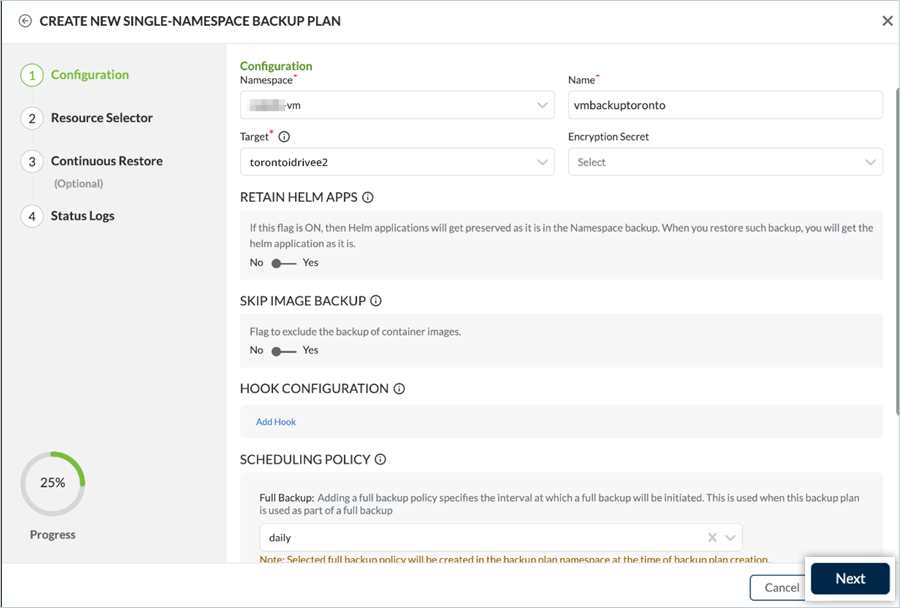
Next, create a backup plan to protect the VM namespace, which in this example contains one virtual machine. Currently, no backups exist, and the namespace includes one pod and one persistent volume (PV).
- Click Create Backup, under NAMESPACES, to start the wizard.

- Click Create New.
- Select the namespace to protect, provide a Name for the backup plan, and choose the previously created IDrive® e2 target as the Target. Under Scheduling Policy, set the required backup frequency for your organization, then click Next.
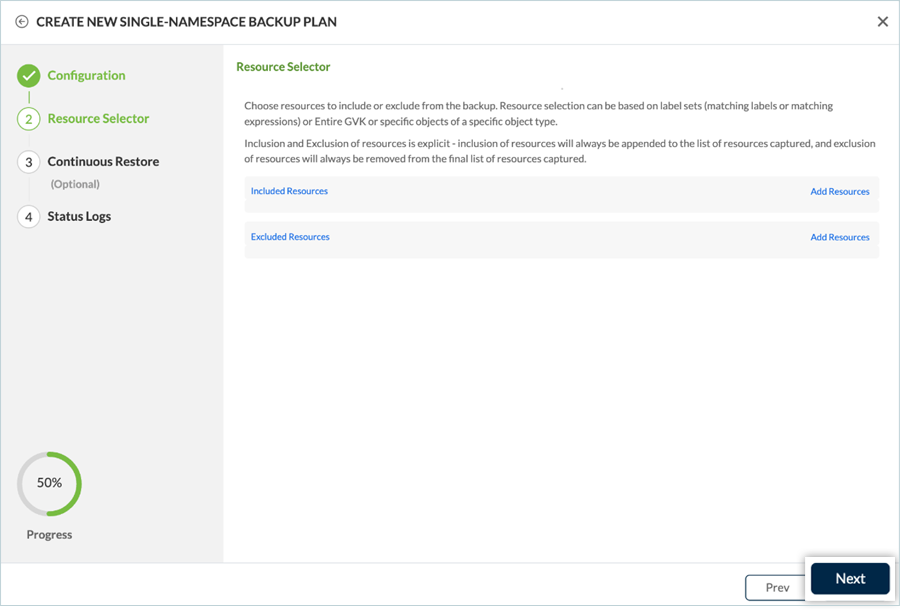
- Make the desired inclusions or exclusions from Resource Selector, and then click Next.
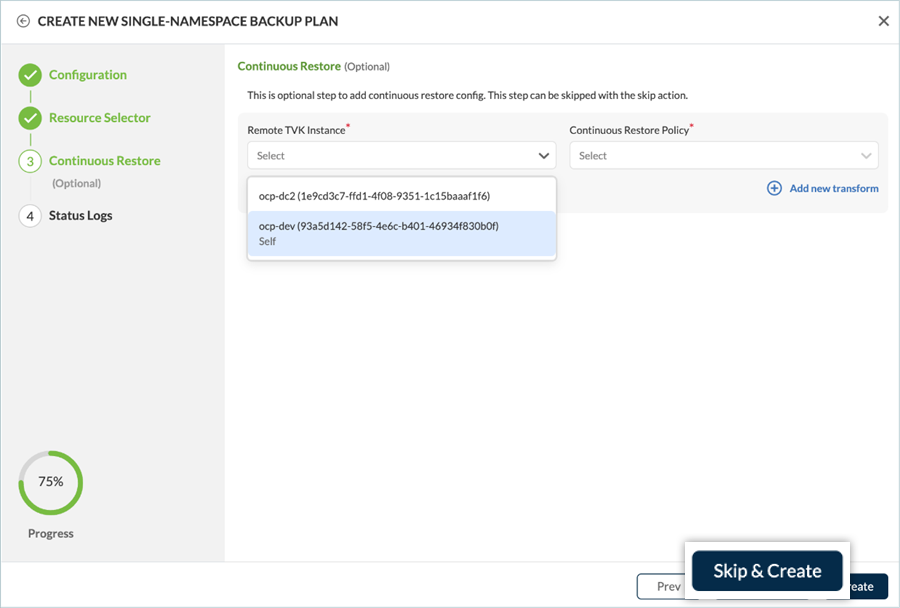
- On the next screen, you can enable Continuous Restore to reduce RTO by pre-staging volumes to a remote cluster.
- If not required, click Skip & Create.
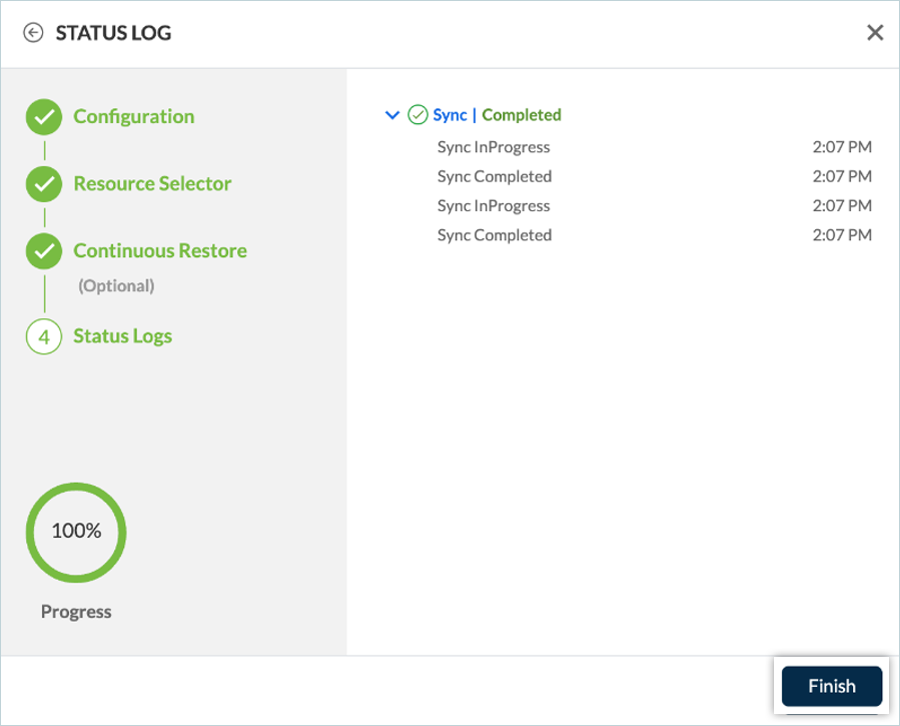
- Once the backup plan is created, click Finish.
- Click Next to proceed.
- Enter a name for the backup and select Create Backup.
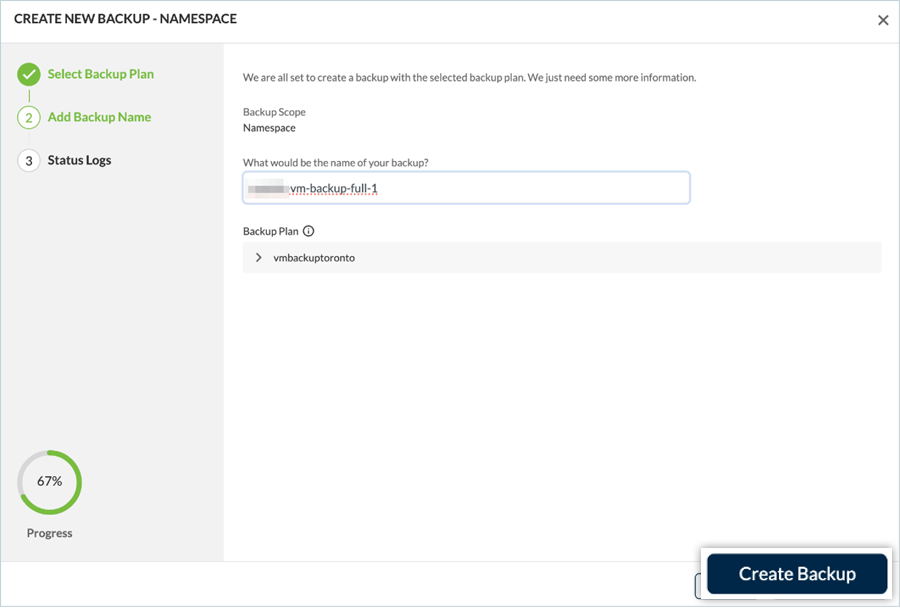
- The backup process will begin.
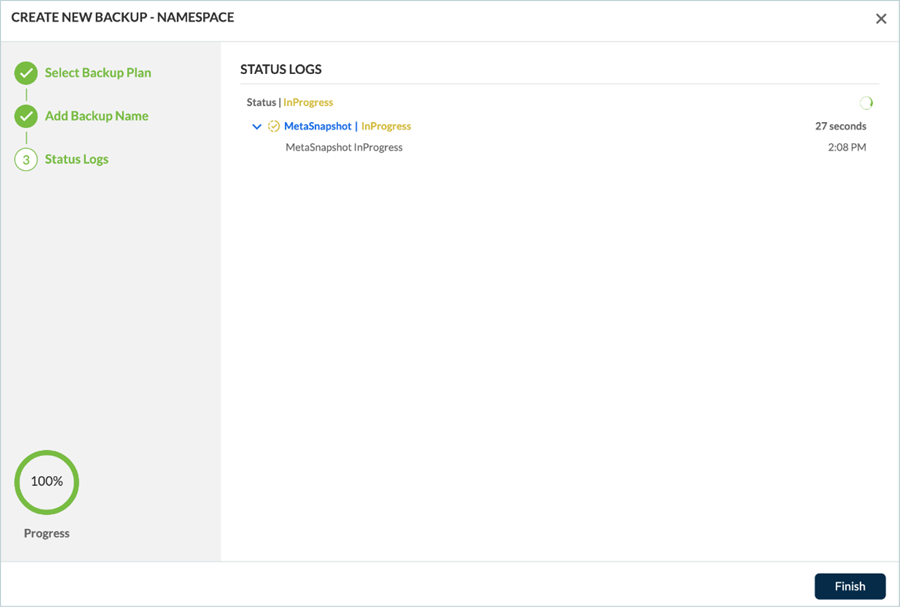
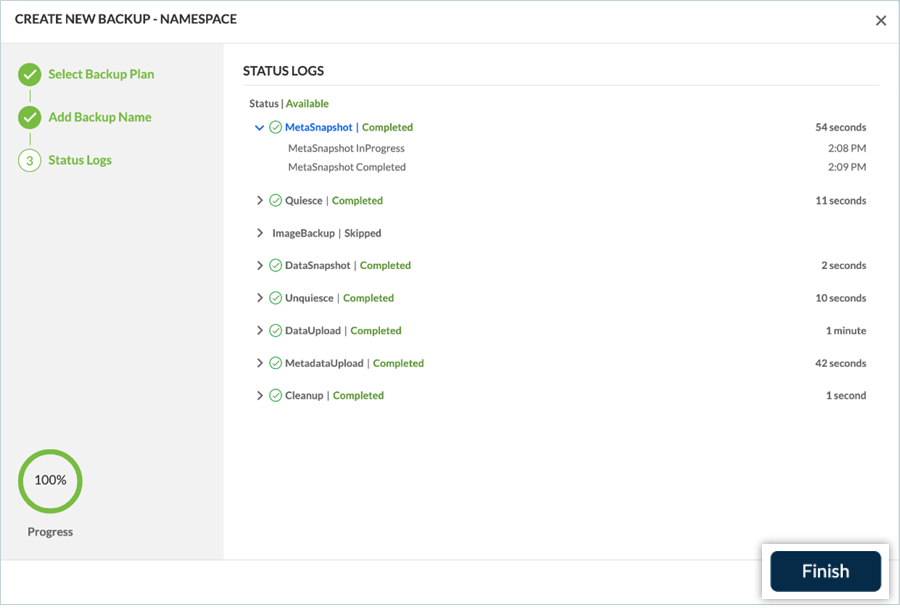
- After completion, the status will display Available. Click Finish.
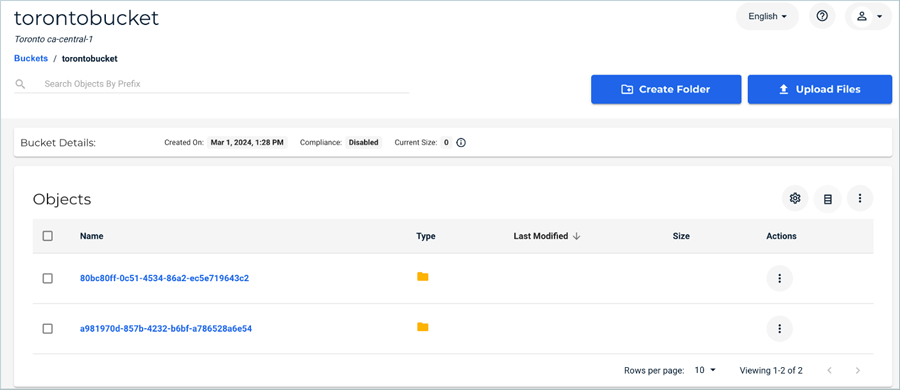
Verifying Data in IDrive® e2
Confirm that the backup data is stored in your IDrive® e2 bucket via the IDrive® e2 console. Below is an example of how the backup data appears within the bucket.
For any technical inquiries, log in to your Trilio account and get in touch with the support team.
Note: Data restoration is handled by your specific backup solution provider and is affected by multiple variables that are unique to your environment. For application-related enquiries/support, it is strongly recommended that you seek guidance from the technical team of your backup solution provider.